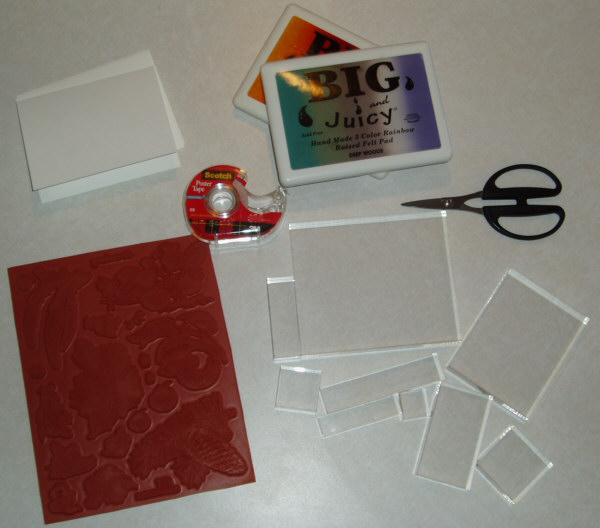
Supplies
- Acrylic Block
There are many kinds of acrylic block available, we sell only 3/4" thick blocks because they have more the feel of a wood block-that is usually about 3/4" thick. If you are handy with tools you can also sometimes find a local trophy maker or plastic fabricator that will either give you some smaller pieces that you can cut up and finish the edges or not charge you very much.
- Kai Scissors
I feel that KAI scissors are the very best for cutting rubber, they are very comfortable to use with the large soft round handles, and they stay sharp for a long time. Whatever you do, you must have a good scissors if you are going to enjoy your unmounted images.
- 3M Poster Tape #109
This is the best tape to use on the blocks, it is low tack so it will not leave any residue when you remove it, and it holds the image on the block. This tape is available at most office supply stores.
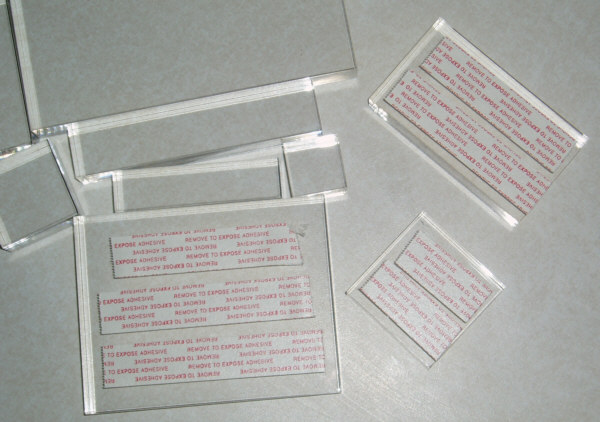
Preparing the Blocks
The blocks only need to be prepared with you first purchase them, or if the tape wears out.I just put several strips of the tape on the blocks. The tape does not need to cover the complete block, if the images are high quality images.
The picture shows several of the blocks ready to go. Leave the backing strips on the tape to protect the surface until needed, and replacing the strips when thru stamping with extend the life of the tape.
High Quality Images
The picture shows the profile of a high quality sheet of images.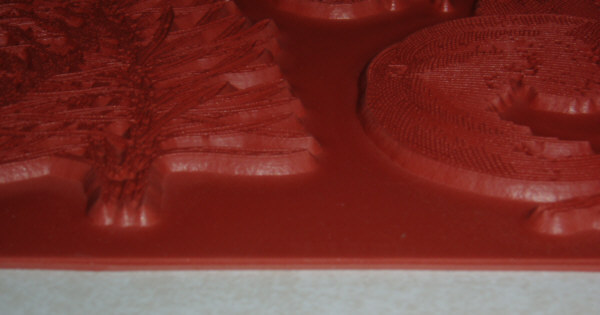
Preparing the image
Using a sharp scissors, cut around the image. If you are using a high quality image you will not have to cut close to the image, you can leave 1/8" of rubber around the image with no problem. After you cut the image from the sheet, place the image on one of the blocks.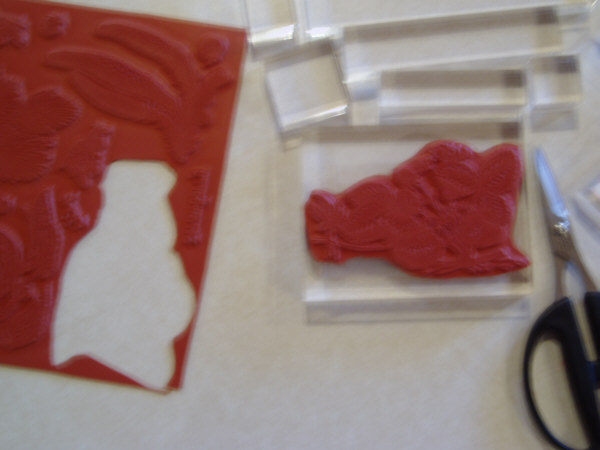
Stamping
Ink the image, lay a sheet of paper on either a mouse pad or a pad of paper. And stamp as you would with a wood mounted stamp--except you can see where you are stamping.I usually stamp a new image on a practice piece of paper to see how much pressure to apply to get the perfect impression. And to make sure that I trimmed enough of the excess rubber away.
Cleaning the image
After you finish stamping peel the image from the block cover the tape to keep it clean. Drop the image into a dish of water. Usually I don't have to do any scrubbing to clean the image after it has been in the water a few minutes.
Storing images
I use Video Cases (without hubs) to store my unmounted images. I put either one or two sheets per case.This is a picture of what the video case insert looks like before cutting and folding.
There is more details on the program I use to print the inserts with the index for the sheets, and a link to one of the many places on the web that sells the video cases by the 100. Click here for more details

Cutting the rest of the sheet
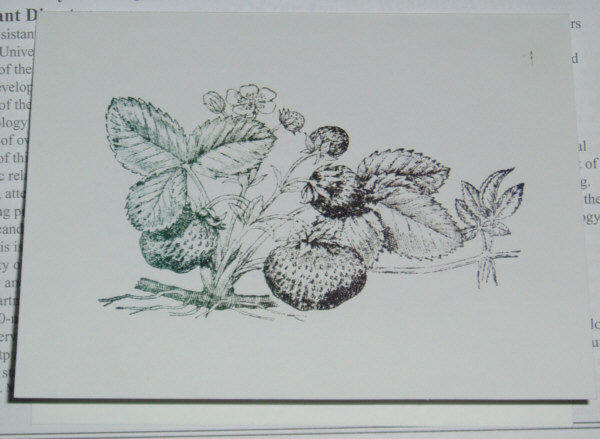
First Time
This is the card from the first inking of the image.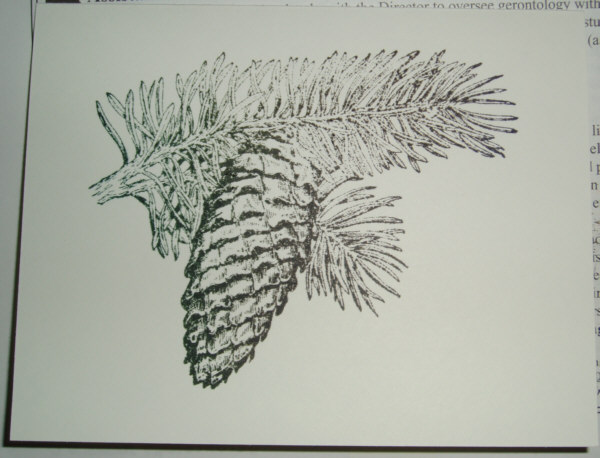
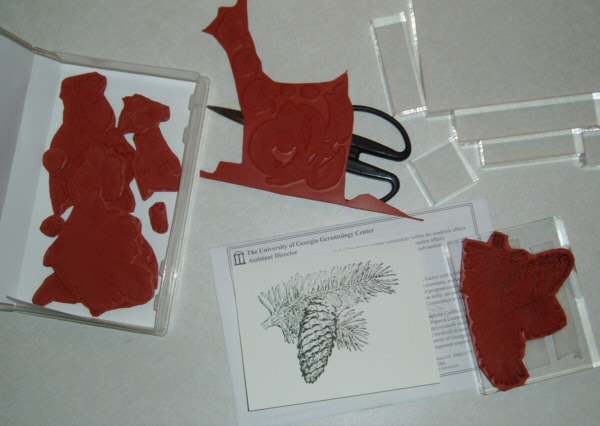
All images on sheet trimmed
The images are all trimmed ready to use and in the box. Making it easy to find them next time.The images that were used have been washed and dried and ready to store.
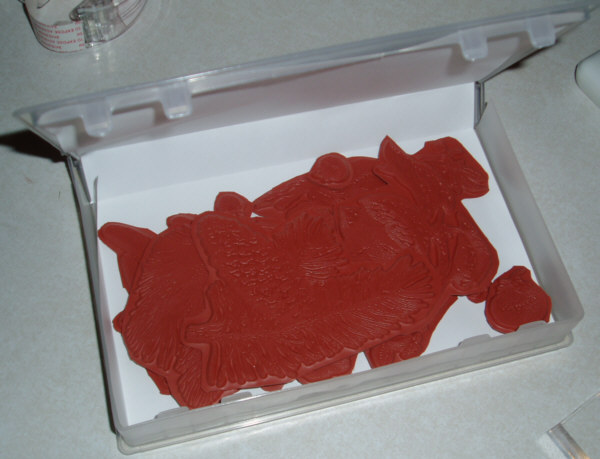
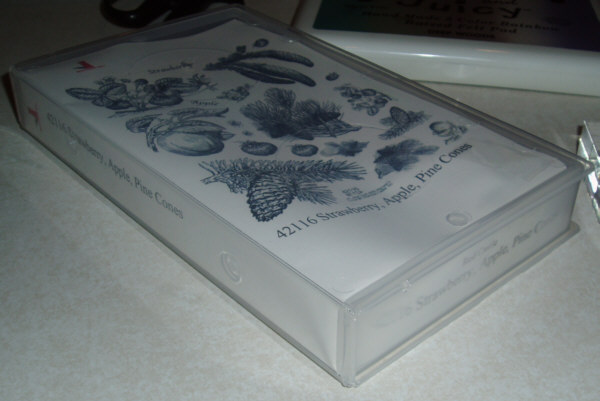
Box closed
The sheet is in the box and ready to go on the shelf.For most sheets it has taken longer to ready this tutorial, than it takes to trim the images and start playing.
Or is it that once one starts playing with the image, time stands still?
Storing Blocks -- Judi's System
Judi Kauffman keeps her acrylic blocks standing upright like chess pieces, a bit of air space between them, so they are easy to reach and always at hand on her stamping table.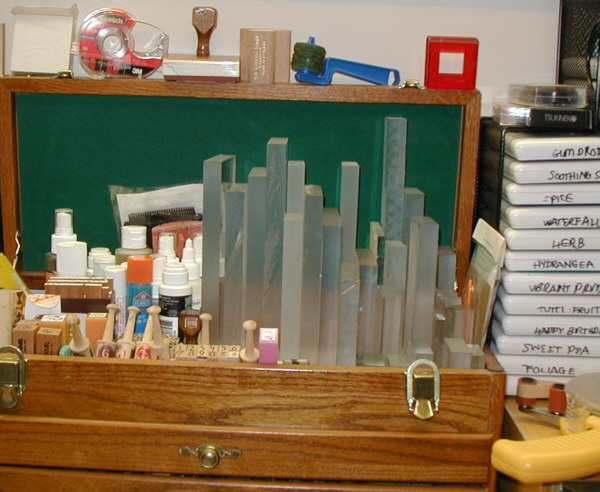
Storing Blocks -- Acrylic Picture Frame
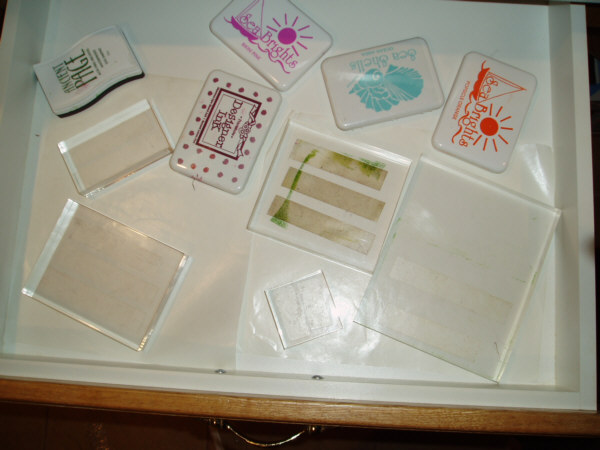
The blocks are in a couple of acrylic picture frames that I then keep in a drawer so that the dust does not stick to the tape.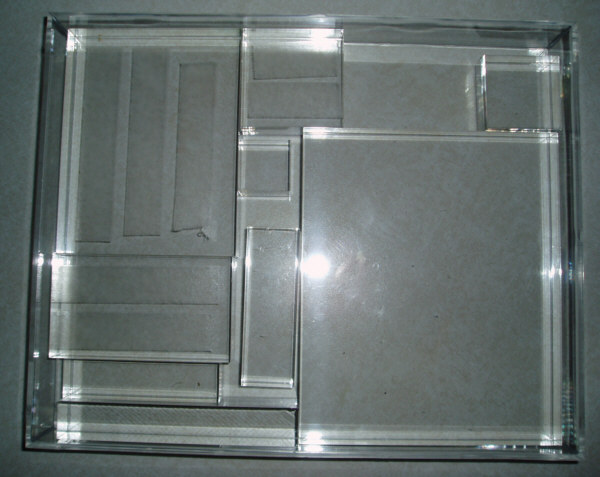
Storing Blocks -- Phil's Normal Method
I have a couple of the backing sheets from the Xyron Adhesive, so that I can just set the blocks in the drawer.The block with the green ink stain has had the same tape for a long time, and is still holding the image.