I selected the FIT IT Frames Crazy Quilt template, plus Butterscotch and
Cranberry inks (not traditional choices for either holiday) and then dipped
into my stash of stickers, buttons and pre-printed papers to create cards
and a calendar. For an added treat, the Valentines have wrapped candies
incorporated into the design. Remember, you can change the shape of the
Crazy Quilt template to match the size and shape of your candy bar!
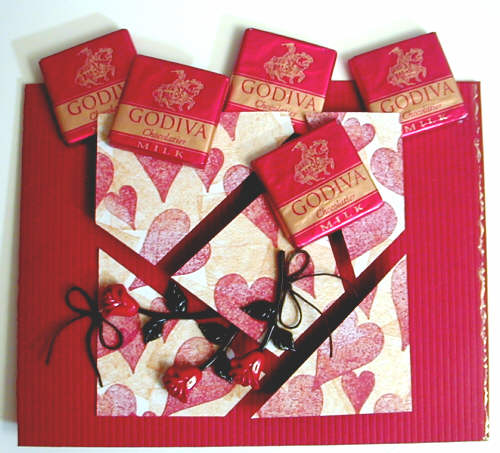
Small Valentine Instructions:
-
Fold red card stock for card. Cut right edge with deckle scissors and
color
with gold marker or leafing pen.
-
Arrange quilt pieces and adhere four of the sections on Pop Dots for
dimension. Glue bottom left section flat onto card.
-
Glue three rose buttons (or small silk or dried roses) to card. Tuck two
under center section, one on top of it. Refer to photo. Add small bows as
shown.
-
Glue small candies at top of card, three tucked under quilt pieces, two
layered on top.
|

|
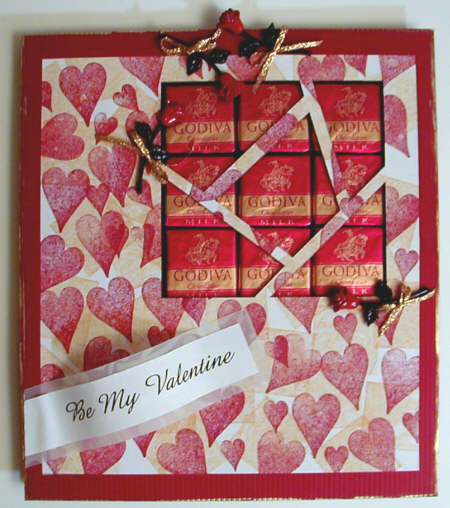
Large Valentine Instructions:
This card is essentially a "shaker" card, open at the top so it can that
can be refilled.
-
Layer stamped template onto red card stock, leaving Crazy Quilt area open
(cut away red card stock before layering). Burnish edges with gold marker
or leafing pen.
-
Cut foam core with opening above AND behind Crazy Quilt "window" -- Foam
core will be a U-shape. This is different from a shaker card -- you will be
able to slip the candies in and out from the top of the card.
-
Glue frame to foam core. Embellish with rose buttons, gold ribbon bows,
and a computer generated or hand done calligraphy message.
-
Put candies behind window.
Option: Add a FIT IT Frames easel so card will stand on a desk, table or
mantel.
|

|
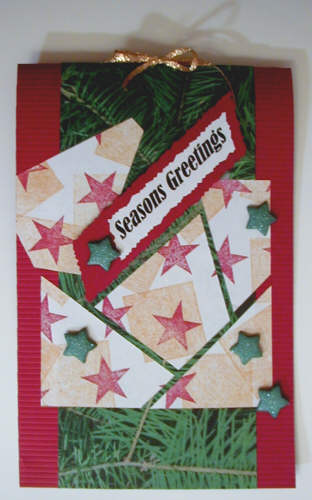
Small Christmas Card Instructions:
-
Fold red card stock in half with fold at the top. Layer with strip of
pre-printed Pine Bough paper (or gift wrap).
-
Glue stamped quilt block pieces as shown, with one lifting at the side like
a box lid.
-
Glue on a greeting and buttons.
-
Tie top of card with gold ribbon.
|

|
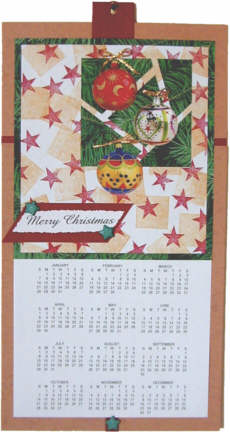
Christmas Calendar:
-
Layer stamped Crazy Quilt template onto pre-printed Pine Bough paper (or
gift wrap). Cut out, leaving 3/8" border.
-
Using Red Castle's FREE Calendar Software, create a calendar in your
favorite font, sized to match the width of the Crazy Quilt with border.
-
Adhere both calendar and Quilt to background (small stripes of red at sides
hide the fact that it took two pieces of brown for border).
-
Embellish with stickers, ribbon bows, message, buttons, as shown or as
desired.
|

|