This month's project is meant to make you laugh, to help you combine phrases
and images, and to give you ideas for a few cards, too.
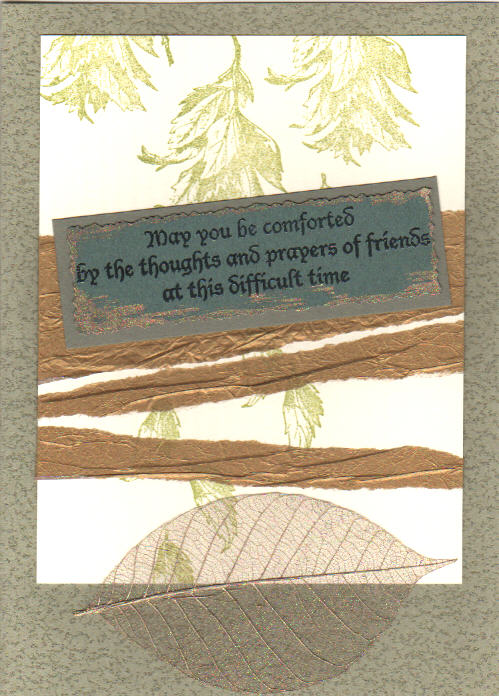
Sympathy Card
- Stamp ivory card stock with flying seeds (Adirondack Lettuce ink).
- Stamp and emboss "May you be comforted..." (black ink and embossing powder)
on warm green card stock. Cut with deckle scissors. Edge with gold marker or
leafing pen. Layer onto olive card stock and cut, leaving 1/8" border.
- Layer message block and wrinkled gold tissue strips (torn for soft edges)
onto ivory card.
- Place ivory card with collage onto folded card made of textured paper (or
stamp texture onto olive card stock in a darker shade for tone on tone
effect).
- Using a TINY bit of glue, adhere skeleton leaf to front of card (toward
bottom as shown).
|

|
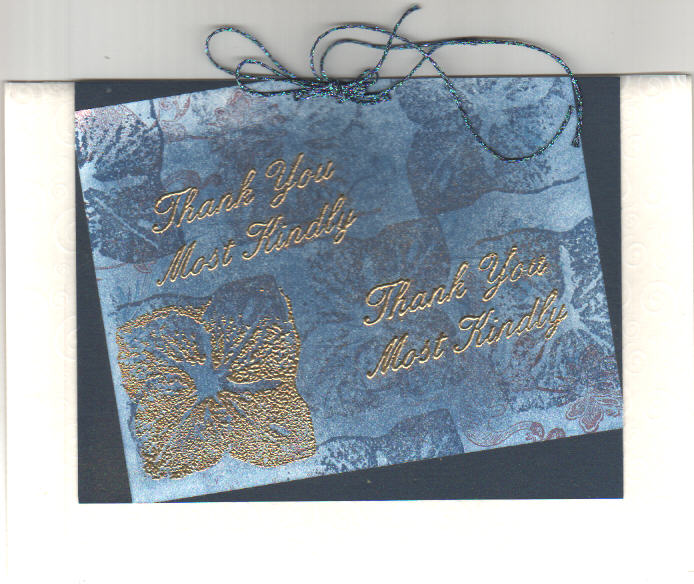
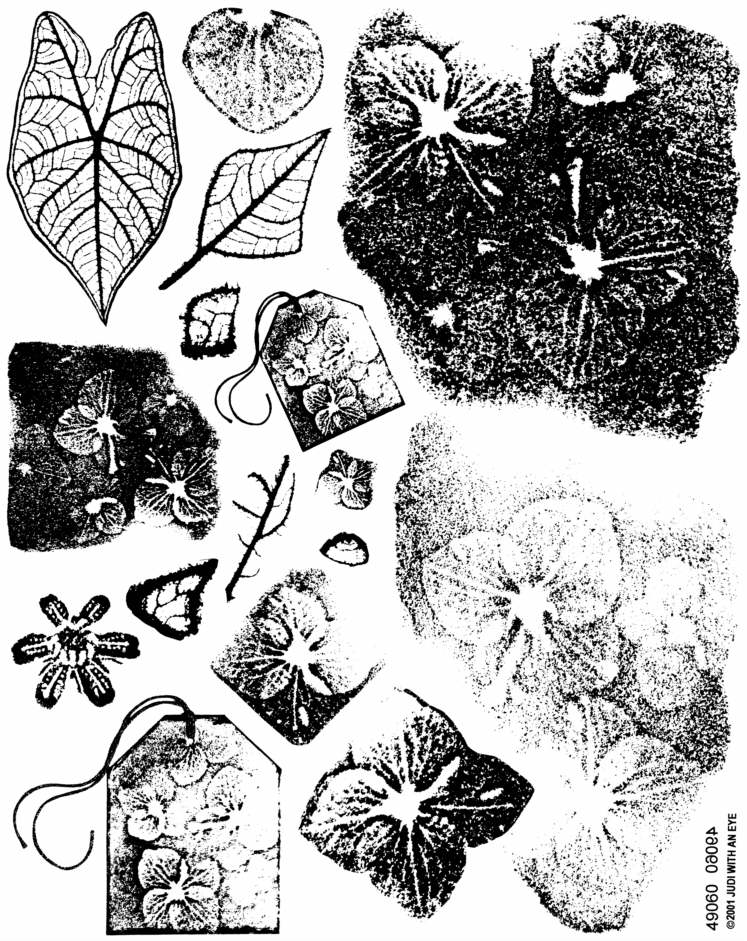
Thank You Card
- Lightly sponge card stock with Adirondack Denim ink. Dry ink with heat
tool.
- Stamp over background with an Asian image (flower or dog) using Adirondack
Currant. Stamp again using single hydrangea blossom from Tactile
Impressions sheet (Adirondack Denim and Currant - do not wash stamp between colors).
Dry ink with heat tool.
- Stamp and gold emboss "Thank You Most Kindly" twice and a single hydrangea
blossom.
- Layer at an angle over navy card stock, and a piece of white on white
printed vellum over folded off-white card.
- Tie with two strands of metallic braid at top for a double bow.
|

|
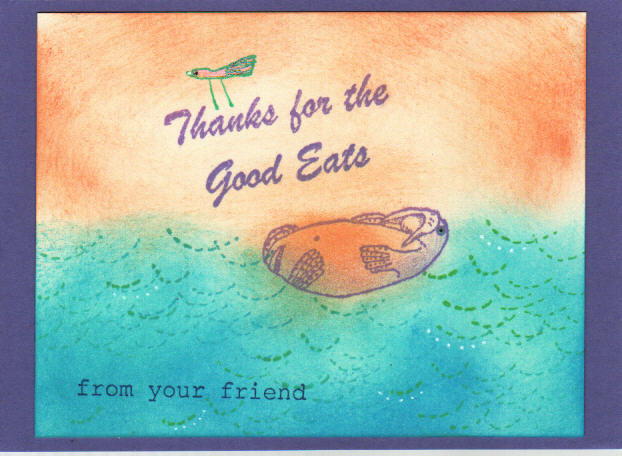
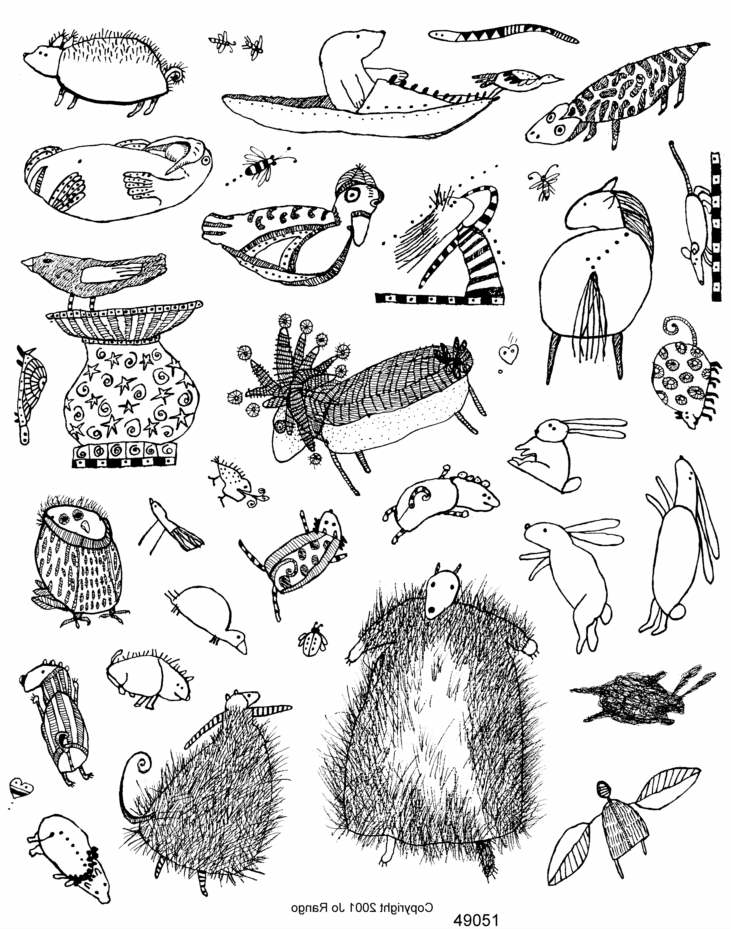
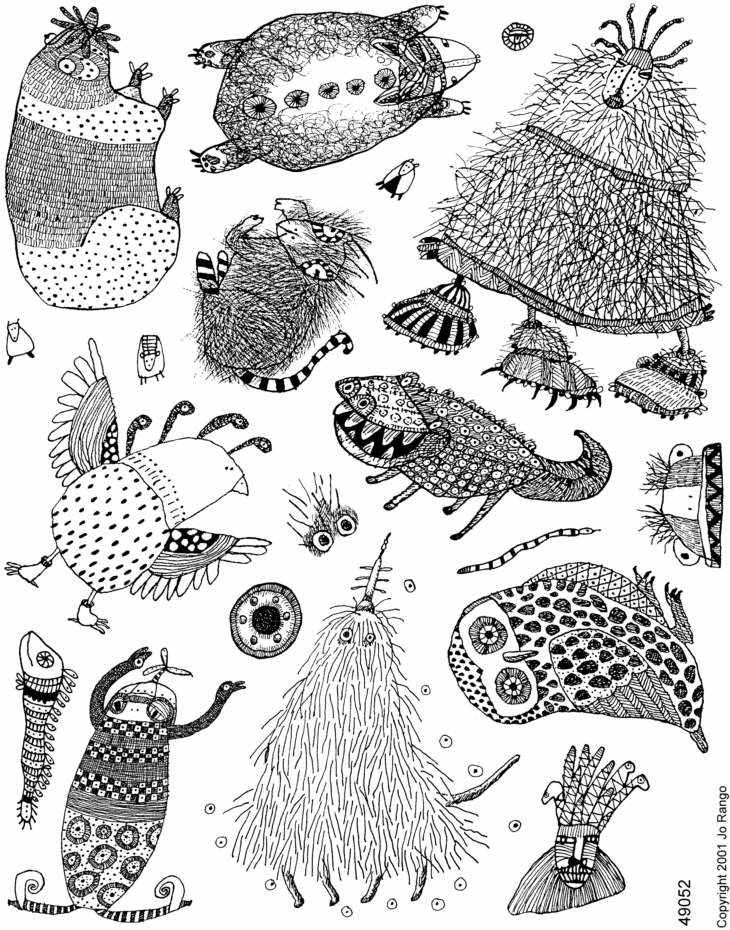
Thanks for the Good Eats postcard
- Stamp "Thanks for the Good Eats" and Rango Zoo floating otter with purple
ink at one end of rainbow pad. Stamp waves (hills from Rango Habitat sheet
turned upside down) and Rango Zoo bird using teal/green end of rainbow pad.
Stamp "from your friend" at bottom in Adirondack Denim ink.
- Sponge orange ink in sky and on otter's belly. Sponge blue ink around otter
for water.
- Add white dots in water, color the bird and otter's eye, using gel pens.
Add shading to otter using gentle strokes of purple colored pencil.
-
Layer onto purple card stock.
Option: Use a folded card instead of a postcard.
|

|
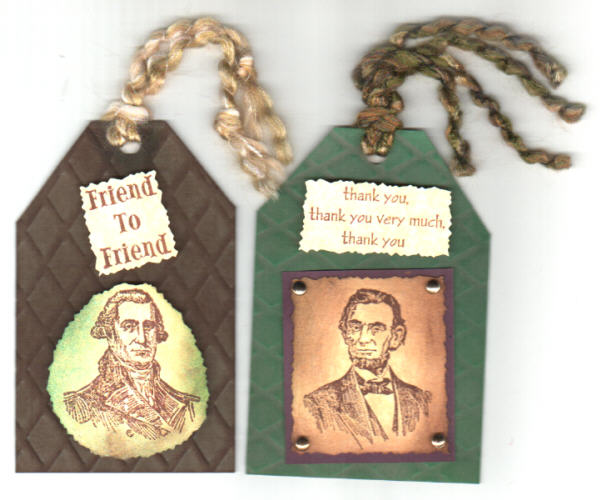
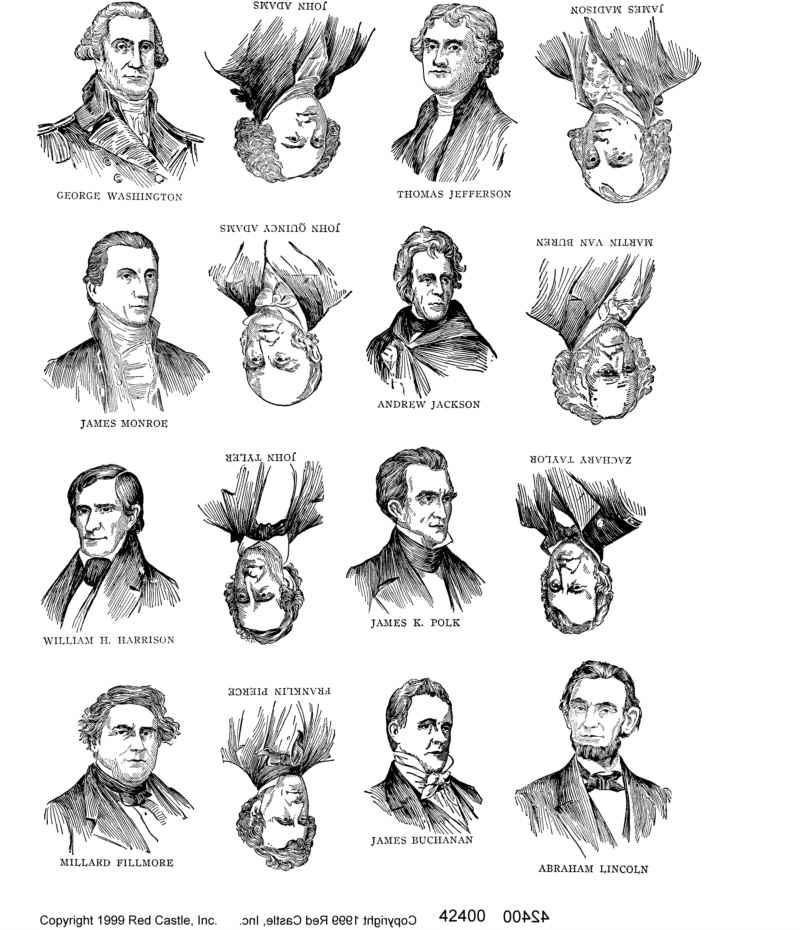
Hello Mr. President - shipping tags
- Crimp olive card stock with diamond pattern. Cut into shipping tags.
- Buff tags with Adirondack Lettuce and Raisin inks - some of the tags with
the raised diamond pattern facing up (Lincoln tag), some with the pattern facing
down so lines receive the color (Washington tag). Diamond pattern can go
across the tag (appearing as horizontal pattern) or upright (vertical
pattern).
- Stamp presidents (with or without name) onto ivory card stock using Raisin
ink. Sponge color around the portrait (Raisin around Lincoln, Lettuce
around Washington). Cut portrait using deckle scissors.
- Stamp Elvis's "thank you, thank you very much, thank you" message, "Friend
to Friend" or another small message stamp onto ivory card stock using Raisin
ink. Cut out.
-
Lincoln: Layer portrait onto deep wine/purple card stock rectangle and hold
in place on shipping tag using mini paper fasteners or eyelets. Add message
on foam dots for dimension. Washington: Layer portrait and message onto
tag using foam dots for both.
-
Punch hole at top of tag and tie with yarn or ribbon.
|

|
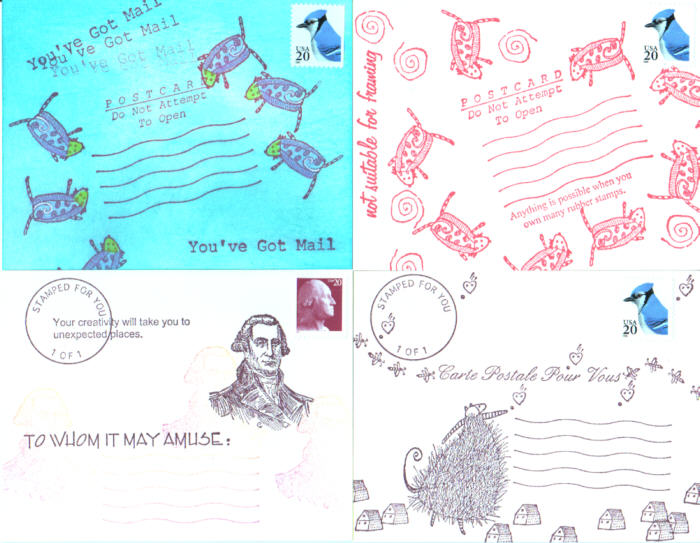
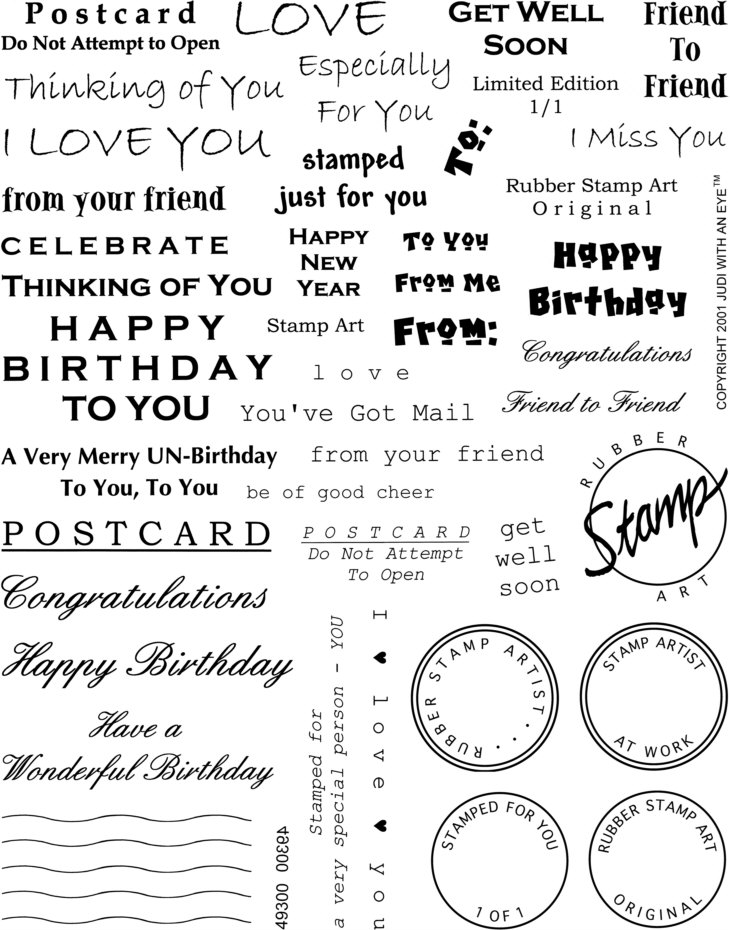
Postcards and Envelopes
This is a chance to be silly, to experiment, to make something unique, to
make something elegant... Refer to the photos for ideas to get you started.
Here are some tips:
- It's easier to stamp a series of postcards or envelopes all at once than to
do them one at a time -- so clear off a space on your work table and make a
batch.
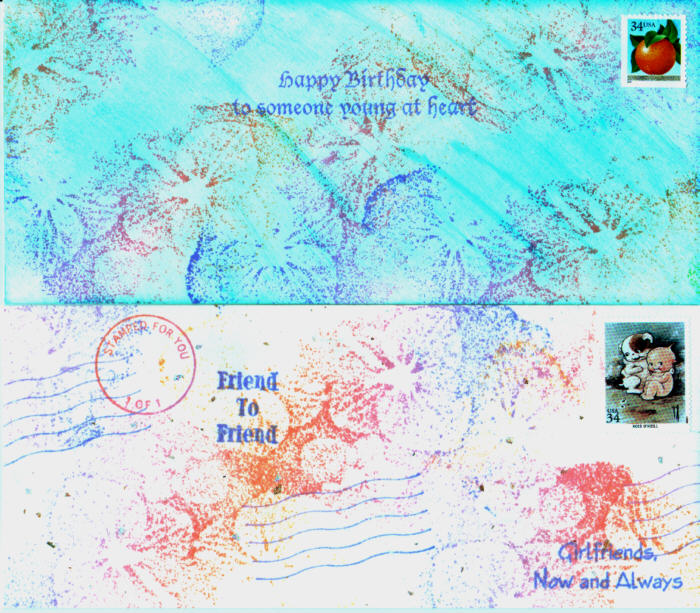
- A single ink will make a series of stamps go together Rango Zoo postcards),
or use a rainbow pad to coordinate a background image with the stamped words
(Girlfriends Now and Always envelope).
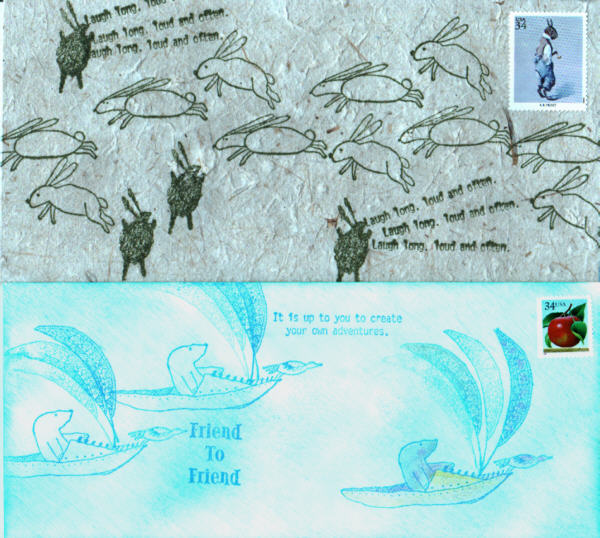
- Coordinate the postage stamp to go with the rubber stamp image(s) (George
Washington's profile on the postcard stamp to match George's portrait
stamped on the postcard, the rabbit stamp to match the leaping bunnies on the brown
handmade paper envelope).
- Send the card without further embellishment ("Not Suitable for Framing"
postcard with spiral swirls).
- Add a tiny bit of color (hearts and stripes on the sleeves of the "Carte
Postale Pour Vous" postcard)
- Sponge on color for the background ("Happy Birthday to Someone Young at
Heart" and "Friend to Friend" envelopes and "You've Got Mail" postcard)
- Add colored pencil touches as desired (first animal and boat on the envelope
and the little animals on the postcard from Tip #6).
|


|