Red CastleCreate and Print: Users Guide


Table of Contents

     
The "Options" Panel
     Changing Colors
     Selecting Shapes
     Advanced Options
     Main Menu
     File Menu
     Print Page Menu
     Load and Print Menu
     Using Shape Copy
     Shape in Tile
     Using Offsets

The "Options" Panel

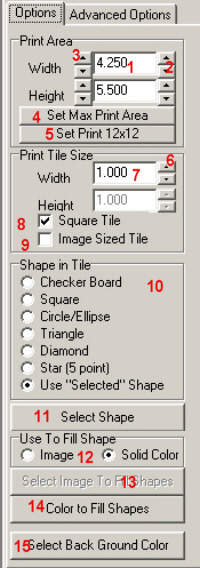
1. Shows the width and height of the "Print Area" that will be printed when a page is printed, or the size of the area to be saved to a file on the "File""SaveAs..." options. The maximum size is 15x15 inches, but can only print the portion that will fit on the paper in the printer.
2. The arrows on the right hand side of the Print Area, will change the size of the printer area by 1/8" each time it is clicked.
3. The arrows on the left hand side of the Print Area, will change the size of the printer area by 1" each time it is clicked.
4. Will read the size of the current paper selected in the selected printer, and set the Print Area to that size. Should always do a Printer Setup from the program menu before clicking this button, also for performance it is better to make all the other choices to print the page first, then select this button.
5. Will set the Print Area to 12x12 inches for a popular size scrapbook page. For the best performance it is better to make all the other choices to design the page first, then select this button.
6. and 7. Show and change the size of the "Print Tile" that will be used to tile the paper being designed, 7 shows the size of the Print Tile and 6 changes the size in 1/8" steps.
8. When "Square Tile" is checked, clicking the Width Up/Down arrow to change the size will change the size of both width and height.
9. When "Image Sized Tile" is checked, clicking the Width Up/Down arrow to change the size will change the size of both width and height, keeping them in the same ratio as the width to height of the image that is currently selected.
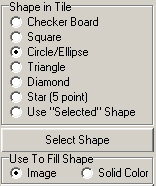
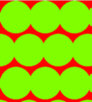
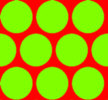
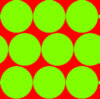
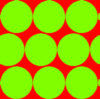
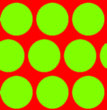
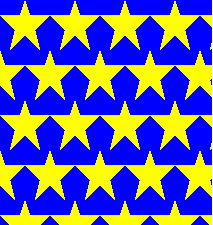
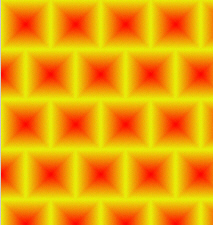
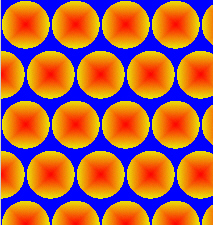
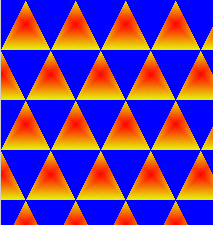
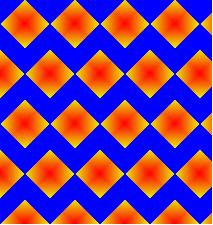
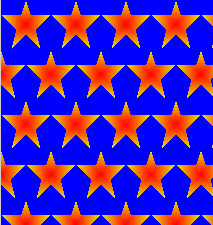
10. Selects the shape of the mask to be used when filling/copying to the tile. See Selecting Shapes for more information.
11. Use "Select Shape" to load a black and white bitmap to be used as the shape. The bitmap can be one included in the Shapes directory of the cd, or any black and white clipart or custom created black and white image. See Selecting Shapes for more information.
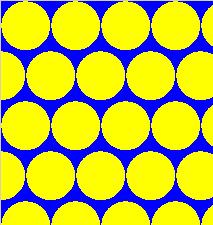
12. "Use To Fill Shape" provides the choices for filling the shape selected, with either a "Solid Color" (see 14), or an "Image" (see 13).
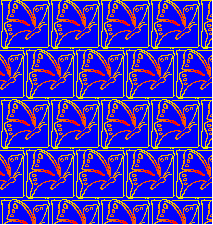
13. Clicking "Select Image To Fill Shapes" shows a window to select the file that will be used with the shape above to fill the tiles, when the "Image" is selected in "Use To File Shape". The image selected can be a digital photo, a scan, an original drawing or clip art.
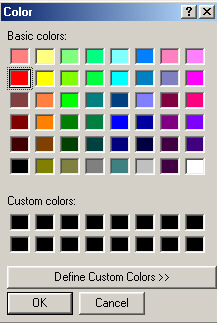
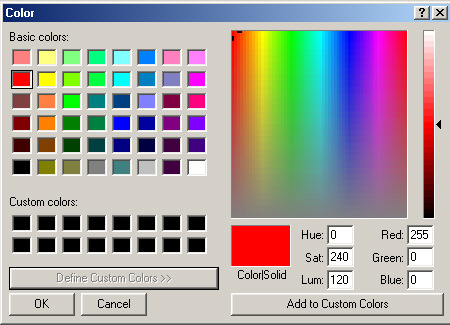
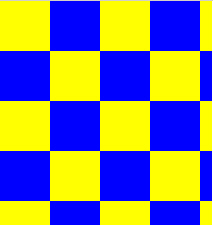
14. Clicking "Color To Fill Shapes" shows a window to select the color that will be used with the shape above to fill the tiles, when the "Solid Color" is selected in "Use To File Shape". See Changing Colors for information on selecting colors.
15. Clicking "Select Back Ground Color" shows a window to select the color that will be used to fill the "white area" of the shape as the tiles are filled. See Changing Colors for information on selecting colors.
(Return to Table of Contents)

Changing Colors

When a button is clicked that requires a color selection, this window is shown. If the desired color is shown, click on the color to select it, and then click "OK".
If the desired color is not shown, click on a color that is close to the desired color, and click on "Define Custom Colors>>". This will cause the window to expand.
To select a color from the Custom Colors one has several choices. If the Hue, Sat. and Lum are known they can be entered, the same is true if the Red, Green, and Blue are known.

The simplest way, is to move the arrow on the right hand bar, up and down until the Color|Solid box displays the desired color. Then click "OK" to use the selected color.

(Return to Table of Contents)

Selecting Shapes

To change the shape that will be used for either the selected image or the fill color, click on the desired button. Shape in Tile shows how each shape will look when selected.
(Return to Table of Contents)

Advanced Options

1. The selection in "Shape Copy" determines how the color or image is copied to the tile using the Selected Shape as a mask. See Using Shape Copy.
2. Changing the "Relative Tile Offsets Percentage", cause the next tile to be copied to the page at different spacing. See Using Offsets to see the effects of changing the offsets. The default offsets are the most common choices.
3. Shows the current value of the Vertical Row Offset, the value can be changed with the up/down arrow to the right of it. The default value is 0 percent.
4. The arrow on the right hand side of the Vertical Row Offset, will change the offset percentage by 1 each time it is clicked.
5. Shows the current value of the Horizonal Row Offset, the value can be changed with the up/down arrow to the right of it. The default value is 0 percent.
6. The arrow on the right hand side of the Horizonal Row Offset, will change the offset percentage by 1 each time it is clicked.
7. Shows the current value of the Even Row Offset, the value can be changed with the up/down arrow to the right of it. The default value is 50 percent.
8. The arrow on the right hand side of the Even Row Offset, will change the offset percentage by 1 each time it is clicked.
(Return to Table of Contents)

Main Menu

File
Has selections for Opening and Saving your work in different formats. See File Menu for description of each item.
Print Page
Will print the current page, as displayed in the Preview window. See Print Page for description of what windows will be displayed.
Printer Setup
Displays a window that allows the printer to be selected and setup if needed.
Load and Print Page
Displays a file selection window, allowing a previously saved page to be loaded and printed. See Load and Print Page for description of what windows will be displayed.
(Return to Table of Contents)

File Menu

1. Open...
Displays a File Selection window, that allows the selection of a file that was previously saved using "SaveAs...". Each file saved as the values of all the parameters needed to reset the program to were it was at the time the file was saved.
2. SaveAs...
Displays a File Selection window, that allows the selection of a file (or the entering of a file name) that will be used to save all the parameters of the page currently displayed in the Preview window. This allows one to stop and restart at the same point later.
3. Save As BitMap...
Displays a File Selection window, that allows the selection of a file (or the entering of a file name) that will be used to save the page currently displayed in the Preview window as a Windows Bitmap. The saved file can than later be used either with "Load and Print Page", or used in a graphics editor to make changes to it before printing. If saving a large image, the files will be huge, upto about 25MB each.
4. Save As Jpg...
Displays a File Selection window, that allows the selection of a file (or the entering of a file name) that will be used to save the page currently displayed in the Preview window as a jpeg file. The saved file can than later be used either with "Load and Print Page", or used in a graphics editor to make changes to it before printing.If saving a large image, the files will be large, up to about 3MB each. These files can be display with a web browser.
5. Exit
Closes the program.
(Return to Table of Contents)

Print Page

When the Print Page menu item is selected, this window is displayed. If the printer is ready and you want to print select "Ok". If you do not want to print select "Cancel", and a message will be displayed telling you that no page was printed.
(Return to Table of Contents)

Load and Print Page

Displays a File Selection window, that allows the selection of a file that was previously saved using "Save As BitMap..." or "Save As Jpg...". The file will be loaded, and this window will be displayed If the printer is ready and you want to print select "Ok". If you do not want to print select "Cancel", and a message will be displayed telling you that no page was printed.
(Return to Table of Contents)

Using Shape Copy

Normal Copy Selected

Normal copy will fill the white space in the mask completely IF the mask has no enclosed white space, as on the body and front feet of the dog. Because it does not look at every pixel in the mask, it is much faster than the complex copy.

Complex Copy Selected

Complex copy tries to examine the every pixel in the mask, so as to not miss any white space. It can become very slow on a detailed shape, or on a slower system.
Simple copy will in most cases give the same results as normal. But at times, it can give some very interesting, almost random looking, results that are very different from the normal copy.

(Return to Table of Contents)


Using Offsets

Default

Vertical Row Offsets

The Vertical Row Offset allows more or less space between rows of tiles.

Vertical Row Offset is minus 10 percent.

Vertical Row Offset is the default of 0 percent.

Vertical Row Offset is plus 10 percent.

Horizonal Row Offsets

The Horizonal Row Offset allows more or less space between tiles within a row.

Horizonal Row Offset is minus 10 percent.

Horizonal Row Offset is the default of 0 percent.

Horizonal Row Offset is plus 10 percent.

Even Row Row Offsets

The Even Row Offset allows the start of row offset of the tiles in even rows to be changed relative to the odd row. The default is 50% which causes the even rows to be shifted half of a tile.

Even Row Offset is shifted left to 25 percent.

Even Row Offset is the default of 50 percent.

Even Row Offset is shifted right to 75 percent.

Examples

Examples of applying all three offsets at same time. As one can see there is an almost endless number of way to change the offsets on one tile to the next.

Vertical Row Offset is minus 10 percent.
Horizonal Row Offset is minus 10 percent.
Even Row Offset is shifted left to 25 percent.

Vertical Row Offset is the default of 0 percent.
Horizonal Row Offset is the default of 0 percent.
Even Row Offset is the default of 50 percent.

Vertical Row Offset is plus 10 percent.
Horizonal Row Offset is plus 10 percent.
Even Row Offset is shifted right to 75 percent.

(Return to Table of Contents)


Shape in Tile

Using "Solid Color" to fill shape


Checkerboard

Square -- Useful only for image, would be solid yellow if using solid color.

Circle/Ellipse

Triangle

Diamond

Star (5point)

Use "Selected" Shape
Shape Copy = Complex

Use "Selected" Shape
Shape Copy = Normal

Use "Selected" Shape
Shape Copy = Complex

Using "Image" to fill shape


Checkerboard

Square

Circle/Ellipse

Triangle

Diamond

Star (5point)

Use "Selected" Shape
Shape Copy = Complex

Use "Selected" Shape
Shape Copy = Normal

Use "Selected" Shape
Shape Copy = Complex
(Return to Table of Contents)

Comments phil@red-castle.com


(c) Copyright 2003 by Red Castle, Inc.
Red Castle, Inc. - P.O. Box 1841 - Saint Cloud, MN 56302-1841
All Rights Reserved.